Step 1: Gather your materials. You will need yarn in your desired colors, a crochet hook (size recommended on the yarn label), and scissors.
Step 2: Make a slip knot by creating a loop with the yarn, pulling the end through the loop, and tightening it onto the crochet hook.
Step 3: Chain 4 stitches. To do this, yarn over (wrap the yarn around the hook from back to front) and pull the yarn through the loop on the hook. Repeat this three more times.
Step 4: Slip stitch into the first chain stitch to form a ring. Insert the hook into the first chain stitch, yarn over, and pull the yarn through both the chain stitch and the loop on the hook.
Step 5: Chain 3 stitches. This will count as your first double crochet stitch.
Step 6: Make 2 double crochet stitches into the center of the ring. To do this, yarn over, insert the hook into the center of the ring, yarn over again, pull the yarn through the ring, yarn over once more, and pull through the first two loops on the hook. Repeat this process once more to complete the second double crochet stitch.
Step 7: Chain 2 stitches. This will create the corner space of your granny square.
Step 8: Make 3 double crochet stitches into the center of the ring.
Step 9: Chain 2 stitches to create the next corner space.
Step 10: Repeat steps 8 and 9 two more times to create a total of four sets of 3 double crochet stitches separated by chain 2 spaces.
Step 11: Slip stitch into the top of the beginning chain 3 to join the round. Insert the hook into the top of the chain 3, yarn over, and pull the yarn through both the chain stitch and the loop on the hook.
Step 12: Change color (optional). If you want to change colors for the next round, cut the yarn, leaving a tail, and pull it through the loop on the hook to secure it. Attach the new color by making a slip knot and placing it on the hook.
Step 13: Chain 3 stitches. This will count as your first double crochet stitch.
Step 14: Make 2 double crochet stitches into the corner space from the previous round.
Step 15: Chain 2 stitches to create the next corner space.
Step 16: Make 3 double crochet stitches into the next corner space from the previous round.
Step 17: Chain 2 stitches to create the next corner space.
Step 18: Repeat steps 16 and 17 two more times to create a total of four sets of 3 double crochet stitches separated by chain 2 spaces.
Step 19: Slip stitch into the top of the beginning chain 3 to join the round.
Step 20: Change color (optional). If you want to change colors for the next round, cut the yarn, leaving a tail, and pull it through the loop on the hook to secure it. Attach the new color by making a slip knot and placing it on the hook.
Step 21: Chain 3 stitches. This will count as your first double crochet stitch.
Step 22: Make 2 double crochet stitches into the corner space from the previous round.
Step 23: Chain 2 stitches to create the next corner space.
Step 24: Make 3 double crochet stitches into the next corner space from the previous round.
Step 25: Chain 2 stitches to create the next corner space.
Step 26: Repeat steps 24 and 25 two more times to create a total of four sets of 3 double crochet stitches separated by chain 2 spaces.
Step 27: Slip stitch into the top of the beginning chain 3 to join the round.
Step 28: Repeat steps 20-27 for each additional round, increasing the number of double crochet stitches and chain spaces in each corner as needed to maintain the square shape.
Step 29: Once your granny square reaches the desired size, fasten off the yarn by cutting it, leaving a tail, and pulling it through the loop on the hook to secure it.
Step 30: Weave in any loose ends using a yarn needle to finish your crochet granny square.
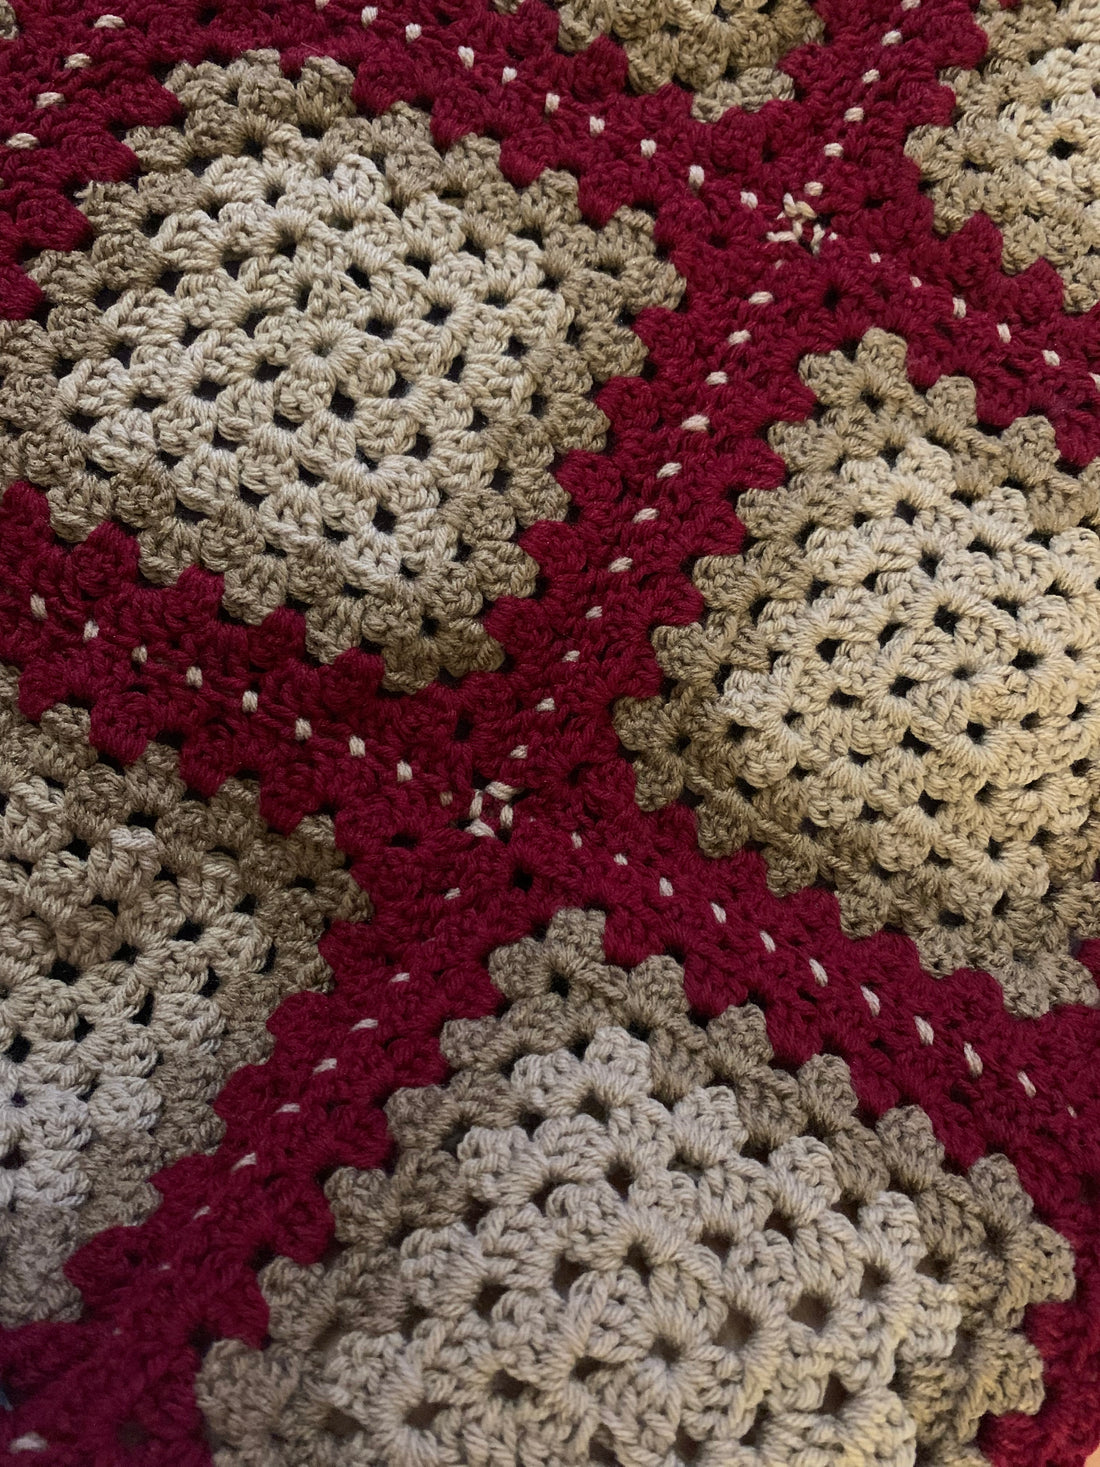
Congratulations! You have successfully made a crochet granny square. Repeat these steps to create more squares and join them together to make various projects like blankets, scarves, or even clothing.